Why Inflatable SUPs Lose Air Overnight
Inflatable SUP troubleshooting has gotten complicated with all the conflicting advice flying around. Forums say replace the valve. YouTube says buy a new board. Your buddy says it’s haunted. As someone who has stood in a cold garage at 6 a.m. watching a deflated board lie there like a sad pool noodle, I learned everything there is to know about overnight pressure loss. Today, I will share it all with you.
Here’s the short version: catastrophic failure is rare. Like, genuinely uncommon. Most boards that seem destroyed are fixable in twenty minutes with a coin and some dish soap. Three causes cover probably 95% of cases — a loose valve, a pinhole seam leak, or plain old temperature physics. That’s it.
So, without further ado, let’s dive in.
Step 1 — Check the Valve First
Roughly 70% of overnight deflation cases end right here. The Halkey-Roberts valve — that threaded brass insert sitting on top of your board — just isn’t seated tight enough. Annoyingly simple. Genuinely that common.
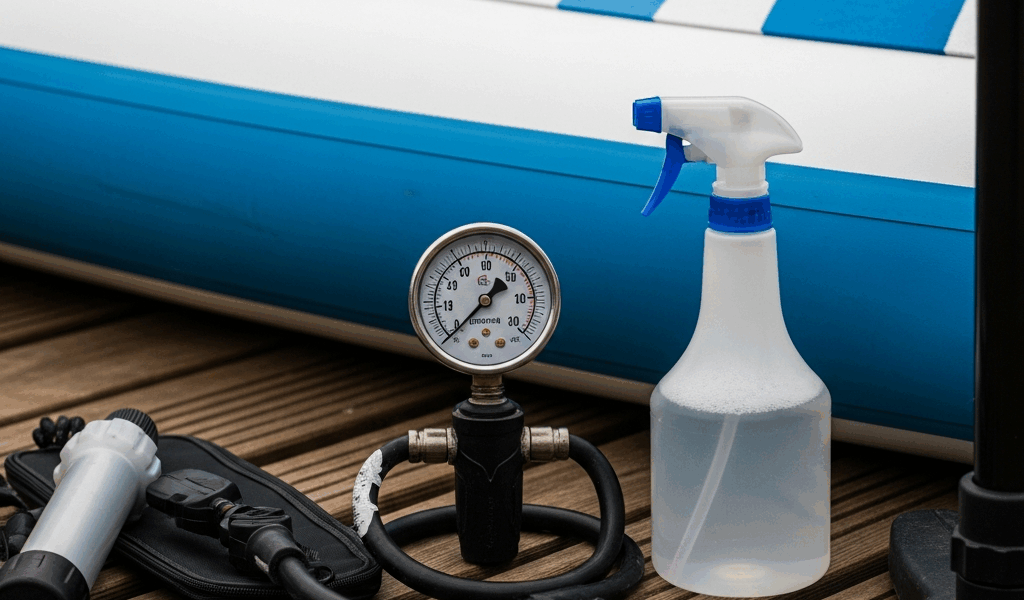
Inflate the board fully first. Most recreational SUPs run between 12 and 15 PSI. Some high-performance shapes push to 18 PSI. Check your manual for the exact number — don’t guess.
Once you’re at full pressure, grab a valve tool or a flat coin. Look at the small recessed pin in the valve center. That pin should sit flush or slightly below the valve body. If it’s poking up even a millimeter, air is leaking around it constantly, all night, every night.
Apply steady downward pressure and turn clockwise. You’re not installing lug nuts on a truck — just turn until you feel real resistance, then stop. Probably should have opened with this warning, honestly: over-tightening cracks the valve interior, which is a significantly worse problem than a loose one. Don’t make my mistake.
Now mix warm water with dish soap — I use Dawn, about a tablespoon per cup of water — in a spray bottle. Keep the board pressurized and saturate the entire valve area. The pin. The threads. The base where metal meets board material. Watch for bubbles forming. Bubbles mean escaping air. Thirty seconds of nothing means the valve is sealed.
If bubbles appear, tighten another quarter turn. Test again. Most valves seal after one or two small adjustments.
Still skeptical? Leave the board inflated for eight hours and recheck the gauge. A properly seated valve holds pressure within 1 to 2 PSI over that span. Anything worse than that points to the valve or something further down this list.
Step 2 — Test the Seams for Slow Leaks
But what is a seam leak, exactly? In essence, it’s a microscopic separation along the board’s bonded edges where air finds an exit path. But it’s much more than that — it’s also the thing most repair guides describe and then immediately abandon you on.
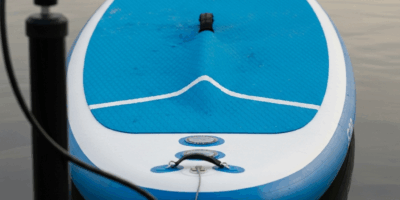
Keep the board fully inflated and lay it flat on a clean surface. Mix another round of soapy water. Now work methodically along every seam — the long rails running the board’s length, the bottom panel overlaps, the fin box perimeter, the nose, the tail. Corners deserve extra attention. Stress concentrates there.
Move the soapy sponge slowly. Watch for tiny bubbles forming and rising. Mark any active spots immediately with a pen or a strip of painter’s tape — they’re easy to lose track of once you move on.
Most boards ship with a vinyl patch kit in the original packaging. I have personally thrown one away thinking it was packing material. Don’t do that. If yours is gone, contact your manufacturer — iRocker, Bluefin, Thurso, and Naish all sell replacement kits directly, usually around $12 to $18.
For a pinhole seam leak: dry the area completely, lightly scuff the surface with 220-grit sandpaper, apply vinyl adhesive per kit instructions, press the patch firmly, and let it cure a full 24 hours. I’ve done this repair on three boards. Two are still holding pressure fine two seasons later. The third needed a warranty claim — more on that below.
Small seam leaks are maintenance items, not warranty failures. That’s what makes this whole process endearing to us paddlers — most problems are genuinely solvable with a $4 patch and some patience. Larger separations or clusters of leaks are a different conversation.
Step 3 — Rule Out Temperature Drop
Sailed through both tests without finding anything? The problem might not be a leak at all.
Air pressure drops as temperature falls. This is physics, not a defect. If you inflate your board at 75°F in the afternoon sun and leave it in a 55°F garage overnight, pressure drops naturally — no leak required.
The rough rule: expect roughly 1 PSI per 10-degree temperature decrease. A 20-degree overnight drop costs you about 2 PSI. That’s not nothing, but it’s also not a broken board. I’m apparently more sensitive to temperature swings than most — I store boards in an uninsulated garage in the Pacific Northwest, and a $35 digital thermometer and pressure log cleared up two months of confusion for me.
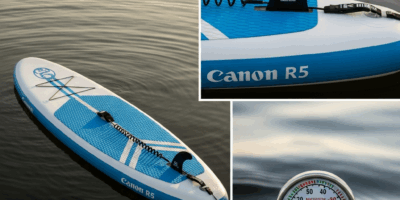
To test this: record temperature and PSI when you inflate. Record both again the next morning. If the pressure drop roughly tracks the temperature drop, you have your answer and your board is completely fine.
Fix options are simple — inflate in the evening accounting for expected temperature swing, store the board somewhere climate-controlled, or just top off pressure before each session. None of these are defects. None require a warranty claim.
When to Contact the Manufacturer or Replace the Board
You’ve tightened the valve. No bubbles. You’ve soaped every seam and found nothing. Temperature was stable overnight. The board still dropped 4 or 5 PSI by morning.
Internal bladder failure is real — just uncommon with quality brands. The bladder is the airtight layer inside the board structure itself. When it fails, air migrates through the foam core and exits the board material from within. A bubble test won’t catch it because nothing surfaces externally.
This is warranty territory. Contact the manufacturer with photos, your pressure log, and documentation of every test you ran. Use specific language: “The board holds pressure at the valve and along all seams using soapy water, but loses 4 PSI overnight despite stable temperature conditions.” That language matters — it tells them you’ve done the work and aren’t guessing.
Reputable brands honor these claims. Cheaper generic boards sometimes push back, which is — honestly — useful information for your next purchase decision.
First, you should start with the valve — at least if you want to avoid unnecessary frustration. Move to seams. Consider temperature. Only then assume internal failure. Most inflatable SUPs come back to life after step one, a coin, and about six minutes of actual effort.

Stay in the loop
Get the latest paddleboard spots updates delivered to your inbox.